
A cheese board is a stylist and simple addition to any gathering. Not only does it provide guests with a nosh to satiate the appetite, it looks damn good too. Creating the perfect cheese board can be daunting to some but it really is rather simple. Just be sure to invest in some great servingware. Très important! Below I have provided a step-by-step guide to constructing a flawless cheese board and a few suggestions for serving it.
1. Determine the amount of cheese needed. Two ounces of cheese per person is a good rule of thumb.
2. Selecting your cheese. Unless you have a repertoire of go-to faves, I suggest you ask the experts. Head to your local speciality grocer or cheese shop. My favorite when I’m home in Toronto is the Cheese Boutique. I seriously think this may be my heaven. Whole Foods is a great runner-up and you don’t have to travel to Toronto just for the cheese, although I probably would.You want to provide your guests with 3 or 5 varieties of cheese. This gives ample selection of favours and is best for presentation. You want to choose a variety of textures and flavours. Select or ask your monger to select 3-5 different cheeses from the following list. • A Blue Cheese like Roquefort, Gorgonzola, Stilton or Cambozola which is also a soft cheese. • An Aged Cheddar (favored or not). I love Bellavitano aged Cheddar in espresso or balsamic. • A hard cheese that is not cheddar. Gruyere, Asiago or Comte. • A Soft Cheese like brie (triple cream all the way) or Camembert. • Chèvre (Goat) in hard or soft. People tend to like soft. • A smoked Cheese. A must in my opinion. Cheddar or gouda are the most popular.
Honestly, just go crazy. There is no wrong answer here.
3. Choose your accompaniments. As a general rule I usually provide:
- 1 type of fruit (apple slices, grapes or a dried fruit like cherries or apricots)
- a variety of nuts
- a selection of breads or crackers
- something sweet like a chutney or wildflower honey
- A selection of olives
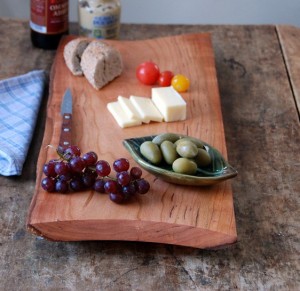
4. Arranging. Set out all your cheese on a large wooden board, slab of slate/marble or a serving tray. Bigger is alway better. I prefer a big slab of rustic wood like this one off Esty which is handmade.
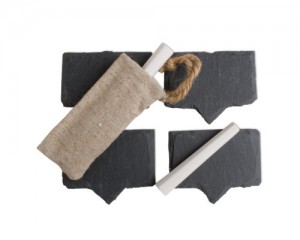
Do not cut the cheese. Ever. Label your selection with some fun cheese makers. These slate ones are pretty cool.
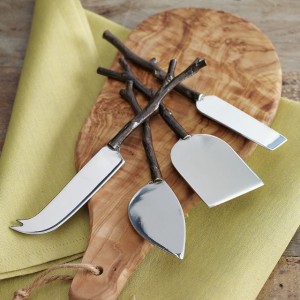
Next, set your accompaniments around your cheeses in small bowls or directly on the board. I don’t like to spread each around, I believe everything should have its own place. Set a cheese knife with each variety of cheese. When it comes it pairing these I just guess. To be honest. Not that it really matters anyway because they will get mixed up. I own a few sets but my favorite resemble twigs. How cool is that?!
And last but not least, set out your crackers/bread on a separate plate. If you’re serving baguette or similar, place it on it’s own cutting board wrapped in a nice tea towel with a bread knife. Please don’t cut it up.
5. Serving. Your cheese board can be served before a meal as guests arrive or after as an accompaniment to dessert. Or both in my opinion.
Voilà! You are now a cheese board master (congratulations) and the obvious envy of all your friends. Oh and if you’re every interested in taking it up a notch. Here is a fun list of every type of cheese on the planet. Yay.
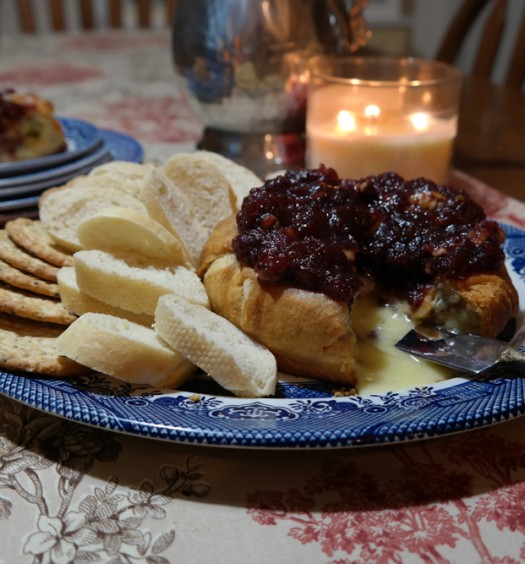
Here is a great example courtesy of TOMOSTYLE

You Might Also Like